A Roof Is Only As Good As Its Installation
When it comes to replacing your roof, there may be some confusion on what it takes to make a sound, reliable system. While most roofers use the same types of shingles, other components of a roof make all the difference between years of maintenance-free living or a leak waiting to happen. I will try to give you some insight into the procedures and materials used to install a new roof and complete a roofing system.
Getting Started
First, roofers vary in expertise and skill, and simply putting the shingles on straight is not necessarily an indication of a well-installed roof. Most leaks occur in areas that meet the shingles, not in the field part of the roof. These areas include siding walls, dormers, skylights, valleys, gutter edges, rake edges, and protrusions such as exhaust vents, pipes, and furnace flues. Ensuring that you are contracting to replace ALL flashings in these areas is an essential task, and it should be included with any roofing contract and NOT an extra cost.
Be sure to check for inferior materials. One example is vent pipe collars, the flashing used for vent pipes that often ventilate bathroom fans. Most newer constructed houses use cheaper all-plastic units as opposed to aluminum with neoprene gaskets. These plastic units last only around eight years before dry rotting. Before you know it, you have a stain on your ceiling. Be aware of roofers cutting corners by installing cheap materials.
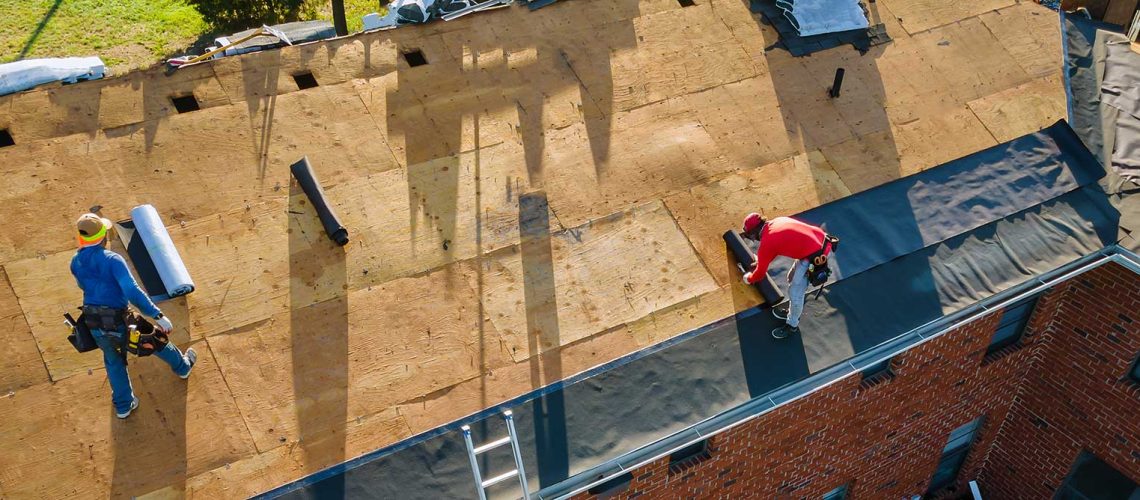
The Installation Process
Let’s start at the bottom of your roof near the gutter and work our way up as an installation would occur so that you may have a better understanding of the roofing procedure.
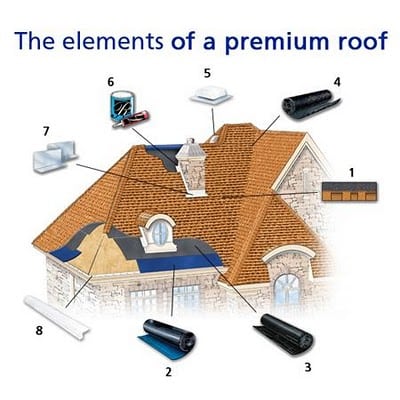
First, the roofer should strip your roof to the decking, inspect the decking, and re-nail or replace it if it has rotted. The installation can proceed with a solid deck in place, beginning with a drip edge: an “L” shaped metal strip that goes from the decking over the back of the gutter, covering the decking edge and blocking moisture. The next step is to apply an ice and water guard, a membrane with a sticky backing that prevents ice damming and serves as the first layer of underlayment covering the part of the drip edge on the decking. Unfortunately, some roofers neglect this system or use inferior materials to cut costs.
Next comes the underlayment in the form of felt paper, a common practice but one that can be misaligned. After that, the application of shingle materials comes, beginning with a starter strip. So essentially, there are two layers on the first row.
Then any protrusion or walls should have an ice and water guard installed as well, and this is where MOST roofers cut corners. If your roofer utilizes these leak barriers in all the leak-prone areas, you will dramatically reduce the chances for a leak to occur.
Finally, at the top or peak is either shingle caps as the last row or a ridge or rolled ventilation system, depending on the roof. We recommend the rolled system if using this method.
Contact Us
Look for future articles on specific areas and associated flashings to be installed. As always, Dominion Roofing installs roofs to exacting standards in Maryland, and unlike our competitors, we leave nothing to chance! Check our reviews and contact us today for a free, no-obligation estimate.